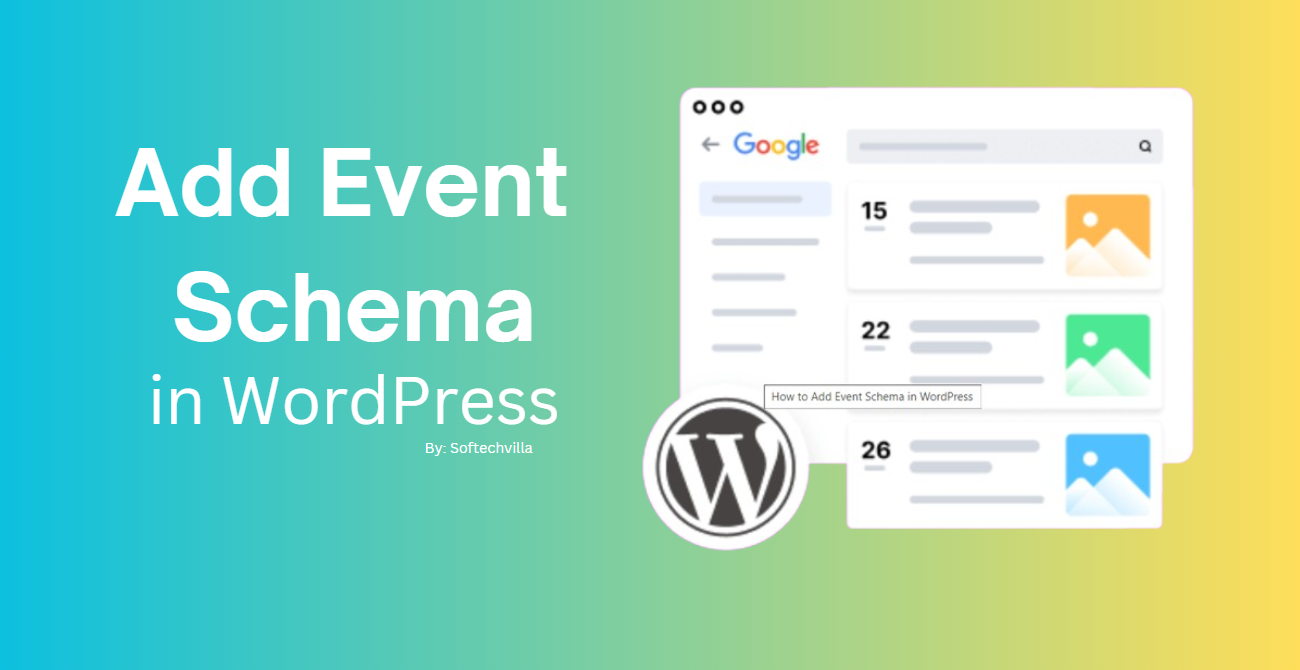
If you’re organizing an online event, getting the word out and making sure it’s easily found online is crucial. One effective way to enhance your event’s visibility in search engine results is by using schema markup. This technique helps search engines understand and display your event details more effectively.
Why Add Event Schema in WordPress?
Event schema markup is a specialized form of HTML code that’s integrated into your WordPress site. It organizes your event information so that search engines like Google can better comprehend and present it in search results. While visitors to your site won’t see this markup directly, it plays a critical role in how your event details—such as date, time, location, and ticket availability—are shown in search engine results.
By adding event schema to your WordPress site, you improve your SEO, making it easier for a targeted audience to discover your event. Your event may appear in rich snippets, event listings, and even Google’s knowledge panels, which can significantly boost click-through rates to your event page.
Example: Imagine your event showing up in a highlighted Google search result with all the key details prominently displayed. This kind of visibility can attract a larger, more interested audience.
Steps to Add Event Schema in WordPress
Adding event schema to WordPress is straightforward, especially when using a powerful tool like All in One SEO (AIOSEO). Here’s how you can do it:
Step 1: Install and Activate AIOSEO Plugin
First, you’ll need to install and activate the AIOSEO plugin on your WordPress site. This plugin is highly regarded for its comprehensive SEO features and supports various schema types, making it easier for search engines to understand your content.
Note: To use the Schema Generator and other advanced SEO features like sitemaps and redirection manager, you’ll need the AIOSEO Pro version. However, there’s also a free version available if you want to try it out first.
Once the plugin is activated, it will guide you through the setup process with a helpful wizard. Click ‘Let’s Get Started’ and follow the prompts to configure AIOSEO properly for your site.
Step 2: Adding Event Schema to a Post or Page
After setting up AIOSEO, navigate to the post or page where you want to include the event schema. According to Google’s guidelines, each event should have its own unique URL, so make sure the page is dedicated to a single event.
Scroll down to the bottom of the content editor until you find the ‘AIOSEO Settings’ section. Click on the ‘Schema’ tab, where you can see the types of schema already applied, such as Article schema.
To add event schema, click the ‘Generate Schema’ button. AIOSEO’s Schema Catalogue will appear, allowing you to select the ‘Event’ schema. Click the ‘+ Add Schema’ button to proceed.
Step 3: Filling in the Event Schema Form
Next, you’ll fill out a form with details about your event:
- Event Name: By default, AIOSEO uses the post title, but you can change this by typing in a new title.
- Event Description: Provide a brief, informative description that will appear in search results. It’s better to write a custom description than to rely on the post excerpt.
- Event Type: Select the type of event from the drop-down menu.
- Event Status: Choose ‘Scheduled’ initially. You can update this if the event is canceled, postponed, or rescheduled.
- Attendance Mode: Indicate whether the event is online, offline, or hybrid.
- Event Date: Select the start and end dates using the pop-up calendar.
- Location: If the event is in-person, enter the venue’s name and address. Leave this section blank for online events.
- Ticket Information: Enter the ticket price (or ‘0’ for free events), the sale start date, and the URL where tickets can be purchased.
- Organizer and Performer Details: Specify whether the organizer is an individual or an organization, and add their name and website. For performances, add details about the performer.
Finally, you can upload an event image or select one from the WordPress media library. The recommended image size is 112×112 pixels.
Once everything is filled out, click the ‘Add Schema’ button to save the information to your post or page. If you’ll be hosting similar events in the future, consider saving the schema as a template to save time.
Step 4: Testing Your Event Schema in WordPress
To ensure your schema markup is working correctly, you can validate it directly from the AIOSEO Settings » Schema section at the bottom of the content editor. Click the ‘Validate Schema’ button to view your markup code.
For further testing, click ‘Test with Google’ to open Google’s Rich Results Test tool. Run the test, and Google will analyze your page’s schema. You can then inspect the ‘Events’ section for detailed test results.
If any issues are found, return to the schema form, make the necessary edits, and retest.
Bonus: Adding Schema Markup for Local SEO
If your event is held at a physical location, enhancing your local SEO can further boost your rankings. To do this, activate the Local SEO module in AIOSEO by navigating to All in One SEO » Local SEO and clicking ‘Activate Local SEO.’
Once activated, you can enter important business information in the Locations tab, helping Google display your event more prominently in local search results.
For more detailed guidance, check out our comprehensive guide to WordPress Local SEO.

